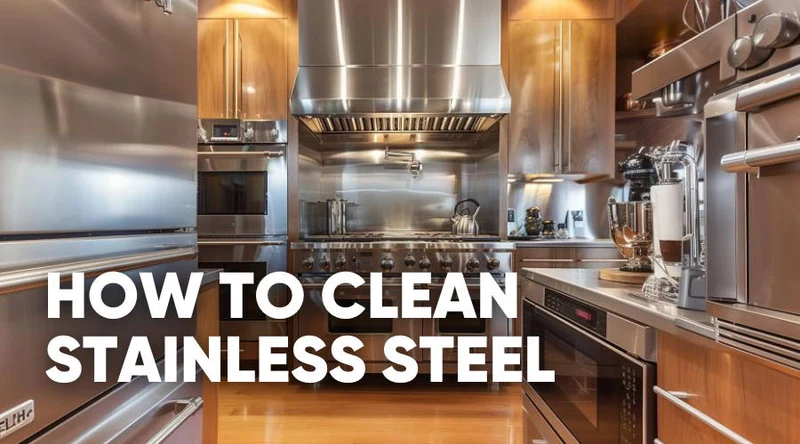
Stainless steel is a popular choice for kitchens because it looks sleek, lasts for years, and works well with modern appliances and fixtures. From refrigerators and dishwashers to sinks, faucets, and cookware, stainless steel can make a kitchen feel clean and polished.
The downside is that stainless steel tends to show fingerprints, water spots, grease, and smudges easily. Fortunately, you don’t always need a commercial cleaner to keep it looking its best.
If you’re wondering how to clean stainless steel naturally, a few simple household ingredients and the right technique can handle many everyday messes. The key is to clean gently, follow the direction of the steel’s grain, and avoid products or tools that can scratch the surface.
Here’s a simple step-by-step guide to cleaning stainless steel naturally.
Can You Clean Stainless Steel Naturally?
Yes. Many everyday stainless steel surfaces can be cleaned with simple ingredients such as warm water, mild dish soap, and, when appropriate for the surface, diluted white vinegar.
However, stainless steel finishes can vary. Some appliances have special coatings or finishes that require specific care.
Before using any homemade cleaning solution, check the manufacturer’s instructions. If you’re unsure, test it on a small, hidden section first.
Natural cleaning doesn’t automatically mean a product is safe for every stainless steel surface.
What You’ll Need
For a basic natural stainless steel cleaning routine, gather:
-
Warm water
-
Mild dish soap
-
White vinegar, if appropriate for the surface
-
Baking soda for selected stubborn marks
-
Microfiber cloths
-
A soft sponge
-
A small spray bottle
-
A clean, dry towel
You don’t need to use everything at once. For routine cleaning, warm water and a microfiber cloth may be all that’s necessary.
Step 1: Identify the Grain
Before cleaning, take a close look at the stainless steel.
You may notice very fine lines running horizontally, vertically, or in another direction. These lines are known as the grain.
Whenever possible, wipe in the same direction as the grain. This helps prevent streaks and keeps the surface looking more uniform.
If you’re unsure of the grain direction, look at the surface under good lighting or gently run your fingers across it to detect the direction of the texture.
Step 2: Remove Loose Dirt
Start with a clean, damp microfiber cloth.
Wipe away dust, crumbs, loose food particles, and other surface debris. This prevents small particles from being dragged across the steel during the deeper cleaning process.
For appliances, working from the top downward can make the job easier.
Don’t use a rough scrubber at this stage. A soft cloth is usually enough for loose dirt.
Step 3: Clean With Mild Soap and Water
For everyday grime, warm water and a small amount of mild dish soap are often the simplest natural cleaning solution.
Add a few drops of dish soap to warm water. Dip a microfiber cloth into the solution and wring it out thoroughly.
The cloth should be damp rather than dripping wet.
Gently wipe the stainless steel, following the grain. Pay particular attention to areas around handles, buttons, edges, and frequently touched surfaces.
Step 4: Wipe Away Soap Residue
After cleaning, use a second microfiber cloth dampened with plain water.
Wipe the surface to remove any remaining soap.
This step matters because dried soap residue can leave behind cloudy patches and streaks, making the stainless steel look dirtier than it actually is.
Use a clean, dry towel or microfiber cloth to dry the surface afterward.
Step 5: Remove Fingerprints Naturally
Fingerprints are especially noticeable on stainless steel refrigerators, ovens, and dishwashers.
For fresh fingerprints, a damp microfiber cloth may be enough.
If there’s oily residue, use a small amount of mild dish soap diluted in warm water. Wipe gently with the grain and then rinse the surface with a clean damp cloth.
Always finish by drying the area.
Step 6: Try Diluted Vinegar for Certain Spots
White vinegar is a common household ingredient that can help with some water spots and mineral residue.
If vinegar is appropriate for your particular stainless steel surface, dilute it with water in a spray bottle. Lightly mist the cloth rather than heavily soaking the appliance.
Wipe along the grain, then follow with a clean damp cloth to remove any remaining vinegar. Dry the surface thoroughly.
Do not allow vinegar to sit on stainless steel for an extended period, and don’t use it if the manufacturer advises against acidic cleaners.
Step 7: Deal With Stubborn Marks
For some stubborn marks, a small amount of baking soda mixed with water can create a gentle paste.
Apply a very small amount and rub carefully with a soft cloth, following the grain.
However, baking soda is mildly abrasive, so it isn’t appropriate for every finish. Avoid using excessive pressure and test an inconspicuous area first.
Afterward, wipe away all residue with a damp microfiber cloth and dry the surface.
Step 8: Dry and Polish With a Microfiber Cloth
Drying is one of the easiest ways to prevent streaks and water spots.
Once the stainless steel is clean, use a fresh, dry microfiber cloth to remove remaining moisture.
Move in the direction of the grain using light pressure.
You don’t need to apply a large amount of oil or polish to achieve a clean appearance. A properly cleaned and dried surface can already look noticeably brighter.
How to Clean a Stainless Steel Sink Naturally
Stainless steel sinks often deal with food residue, water spots, soap, and grease.
Start by rinsing away loose debris. Apply mild dish soap to a soft sponge and gently clean the sink.
For mineral spots, diluted vinegar may be useful if it is compatible with the sink’s finish. Rinse the sink thoroughly afterward and dry it with a clean towel.
Regular drying can make a big difference because it prevents water from evaporating and leaving mineral deposits behind.
What Not to Use on Stainless Steel
Natural cleaning methods can be useful, but some common cleaning tools can damage stainless steel.
Avoid steel wool, harsh scouring pads, and abrasive brushes. These can leave scratches that are difficult or impossible to remove.
Don’t use bleach or chlorine-based products unless the manufacturer specifically says they are safe for the surface.
Never mix cleaning ingredients without knowing how they interact. In particular, don’t combine vinegar with bleach or other chemical cleaners.
Also avoid leaving acidic solutions on stainless steel for long periods.
How to Keep Stainless Steel Clean Longer
Regular maintenance makes stainless steel much easier to manage.
Wipe up food spills as soon as possible, particularly acidic or salty substances. Clean fingerprints when they appear rather than allowing grease to build up.
Dry sinks and faucets after use when practical to reduce water spots.
Use a clean microfiber cloth for regular maintenance and avoid reusing a cloth that contains grease or abrasive particles.
Final Thoughts
Learning how to clean stainless steel naturally doesn’t require a cabinet full of specialty products. For everyday cleaning, warm water, mild dish soap, a soft microfiber cloth, and proper drying are often enough.
Diluted vinegar can be useful for certain water spots, while a small amount of baking soda may help with selected stubborn marks. However, always consider the particular finish and follow the manufacturer’s care recommendations.
Most importantly, clean gently, follow the direction of the grain, avoid abrasive tools, and dry the surface after cleaning. With these simple habits, your stainless steel appliances, sinks, and fixtures can stay clean and polished without relying on harsh cleaners.